
DIY Project : Build Your Own Tipsy Pots Planter

Surely by now you have seen those nifty tipsy-pots planters in the gardening magazines and on the Internet. I think they are great and made one last spring, then added a few summer flowers to it as the season progressed. But now it was time for a Fall overhaul! Since I was redoing the plantings, I decided to take the whole thing apart and show the steps so you can make one, too.
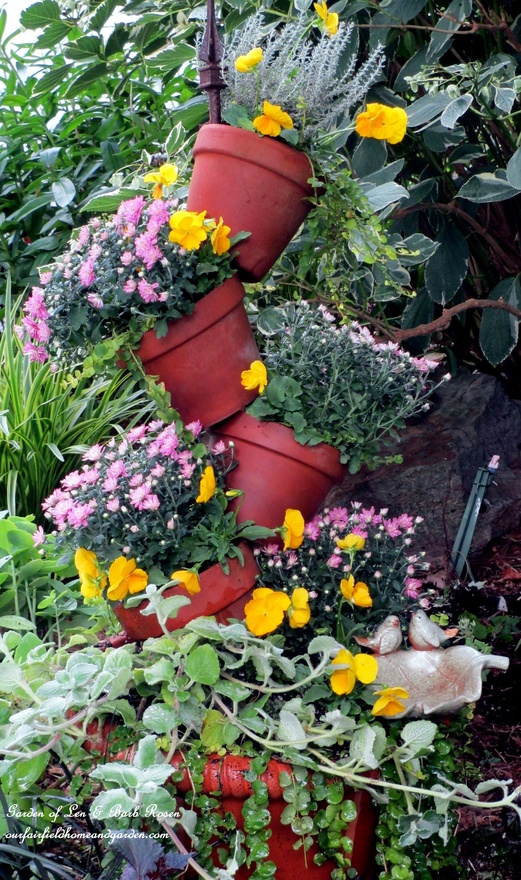
Fall Tipsy-Pots Planter ~ so easy, inexpensive and fun to make!
To get started, you’ll need:
- four clay pots (mine were the same size, but experiment with what you have!) and a large clay pot for the bottom
- 2 bricks
- a finial (bought or homemade)
- a 4 foot (or longer) piece of rebar
- Moisture Control potting mix (or any mix with water retention beads added – you don’t want to water every five minutes!)
- a selection of plants (I used 4 small mums, 6 yellow pansies, 1 curry plant, and 1 plectranthus , plus I kept some of the creeping jenny that was already there)
Now follow the picture directions below and have fun making your own variation!

Step #1 ~ Gather materials for planting the tipsy-pots: four small and one large clay pot, 2 bricks, a finial , a 4 foot or longer piece of rebar, potting mix with water retention beads added and a selection of fall plants (mums, pansies, curry plant, plectranthus)
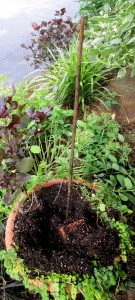
Step # 2 ~ insert rebar into pot & down through drain hole into the ground for stability
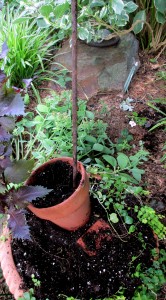
Step # 3 ~ Upend the bricks and sink into the soil on either side of the rebar and place the edge of the first pot on one
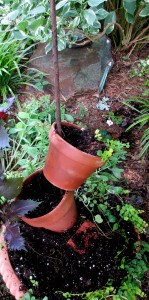
Step # 4 ~ 2 pots stacked on the rebar (tilt each pot the opposite direction so it rests on the pot below it)

Step # 5 ~ Continue stacking the pots, now 3 pots on the rebar post
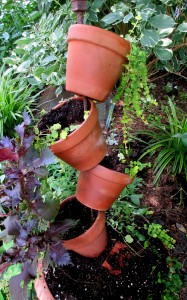
Step # 6 ~ Place the final pot on and top with a finial, 4 pots now on the rebar and you are ready to plant
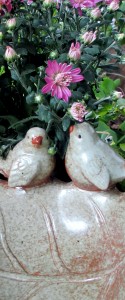
Step # 7 ~ We need something decorative ~ an added touch ~ a small bird bowl
Finished Fall Tipsy-Pots Planter





The color of your pot does not fit to your flower plant; why not change it to violet instead of red.
Well, Ira, what I had on hand was my clay pots which I think go with any color flowers. I am not so much a matchy-matchy type person either! Painted pots are pretty too, but I prefer mine to be natural. Thanks for writing!